Creating a template
Templates are blueprints of your documents. A template is a .docx Word document enhanced with Experlogix functionality. Users can create a template in the Project Console and build them in the ExperlogixTemplate Builder add-in for Microsoft Word. This page describes the basic steps for creating a template in the Project Console.
Steps for creating a Template
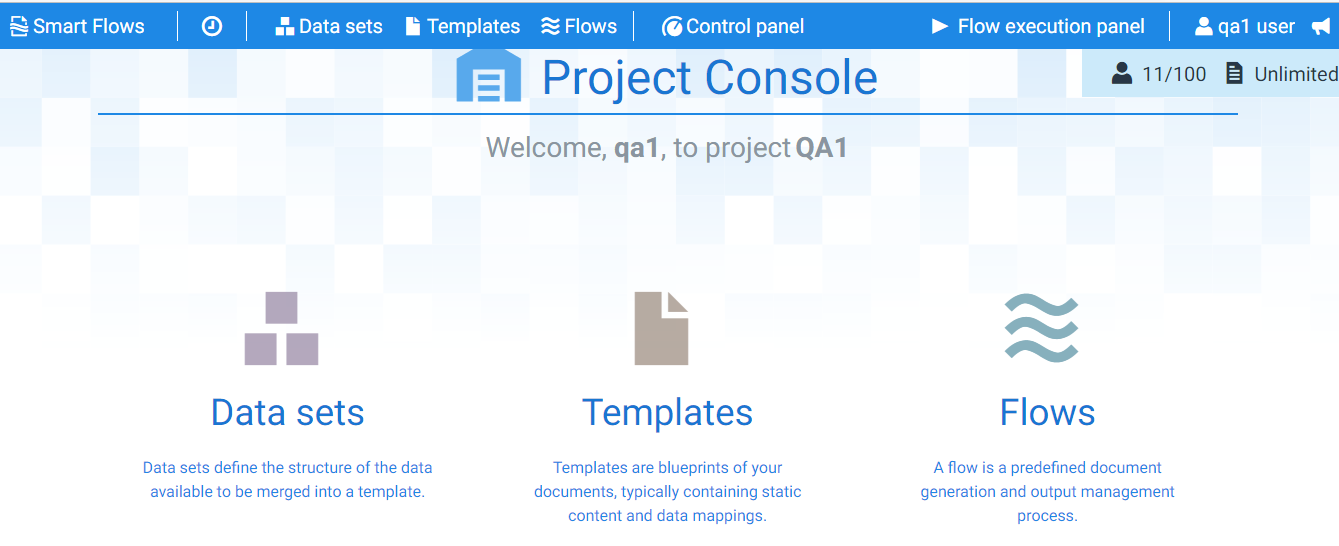
| 1. | In the Project Console, click the Template button |
The Template window displays.
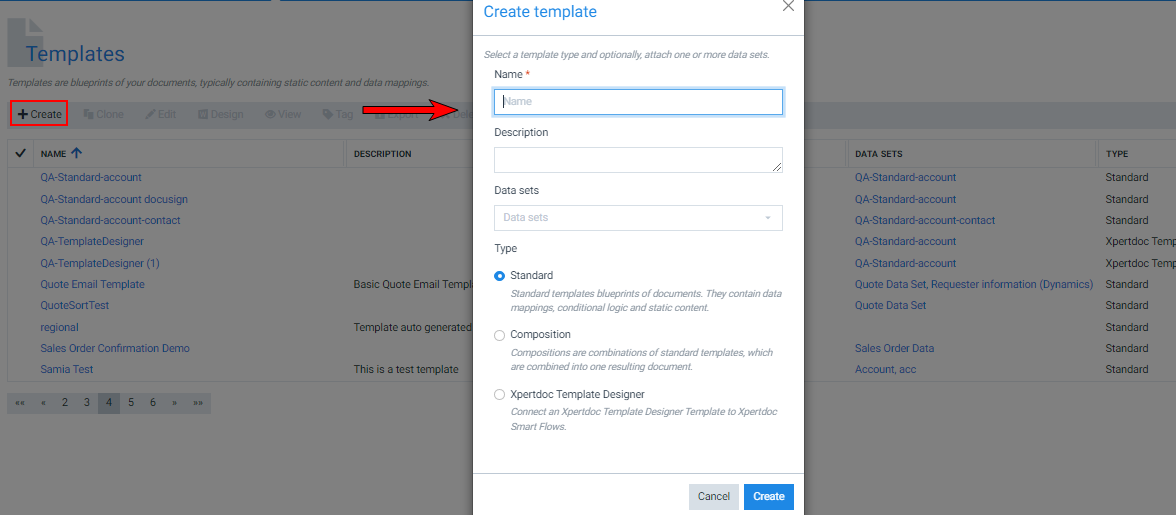
| 2. | Click the Create button. |
The Create template window displays.
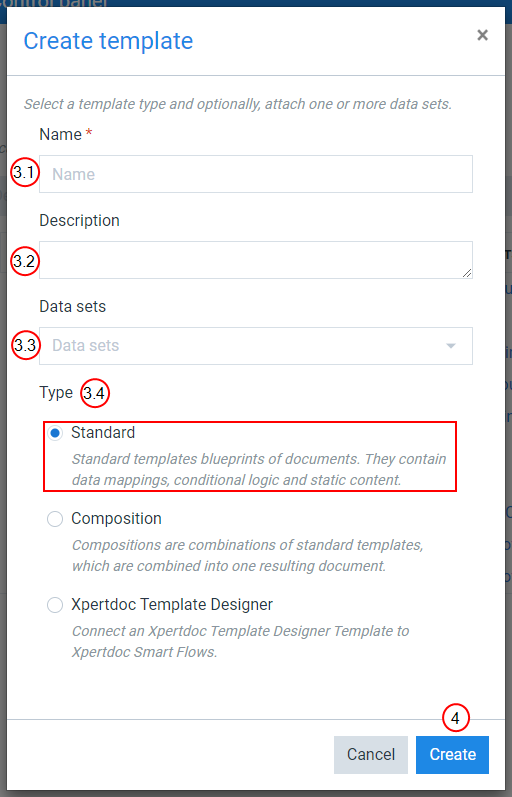
| 3. | Create the template. |
| 3.1. | In the Name field, input the name of the template. |
| 3.2. | (Optional) In the Description field, input a description for the template. |
| 3.3. | (Optional) In the dropdown menu, select the Data sets you want to use for your template. |
Decision Point
There are three types of templates - Standard, Compositions, and ExperlogixProject Console.
-
Standard templates are used to convert one template into one document.
-
Compositions templates are combinations of standard templates. In the composition template, multiple templates are merged into one document. You can re-use standard templates by using them in multiple compositions. You can even use compositions in other compositions.
-
ExperlogixProject Console is connected to ExperlogixSmart Flows.
You can select here your desired template Type.
| 3.4. | Select your desired Type of template (the system selects the Standard template by default). |
| 4. | Click the Create button. |
The Create template window no longer displays.
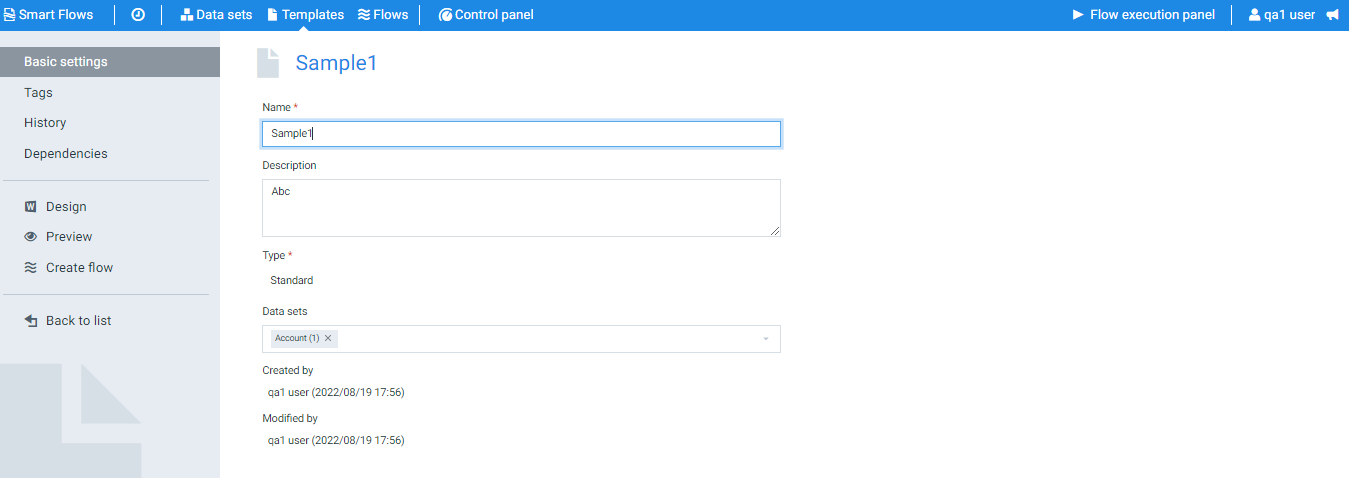
The List view refreshes to display your new template.
You are redirected to the Template Builder, which allows you to design the layout of your template in Microsoft Word.